Tile and Paver Layout Patterns
By using different patterns to lay out tiles or pavers it is possible to achieve a completely different look for a space using the same materials, so it is important to consider the pattern to use when choosing your tile or stone pavers.
Tiles can be installed at a 90° angle, but it is also possible to lay out tiles at a 45° angle to achieve a different look.
It’s recommended to order an additional 10% of material when installing tile or paver in a 90° pattern other than a linear layout. When using an angled pattern more cuts will be required, and more material will be needed, we recommend ordering an additional 20% of material when using an angled pattern.
See our tile calculator or paver calculator to estimate materials for your tile or paver project.
Layout Patterns
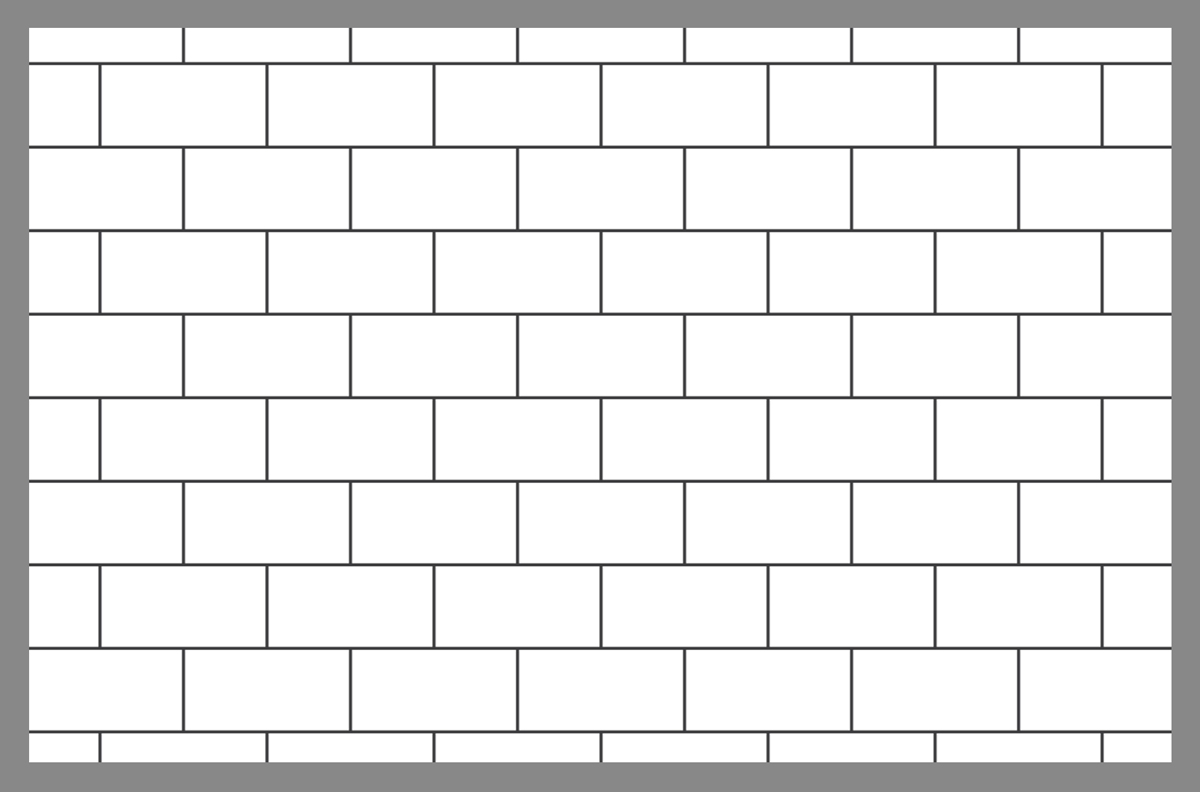
Running Bond
The running bond pattern is achieved by installing tiles end to end and offsetting each row by half the length of the tile. Tile or block should have a 2:1 length to edge ratio or more. This is most commonly associated with subway tile or brick work. Plan to order 10% additional material when using this pattern.
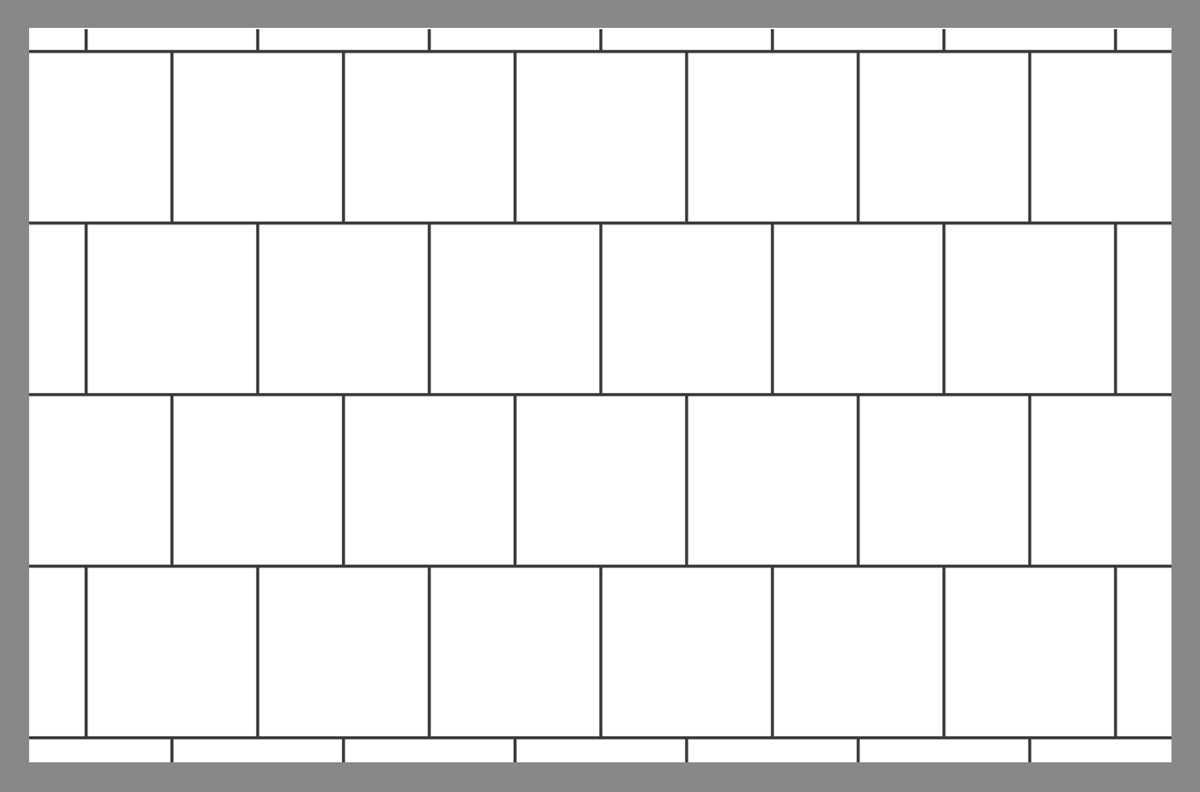
Running Bond Square
The running bond square pattern is just like the running bond pattern, but using square tile instead of rectangular. Plan to order 10% additional material when using this pattern.
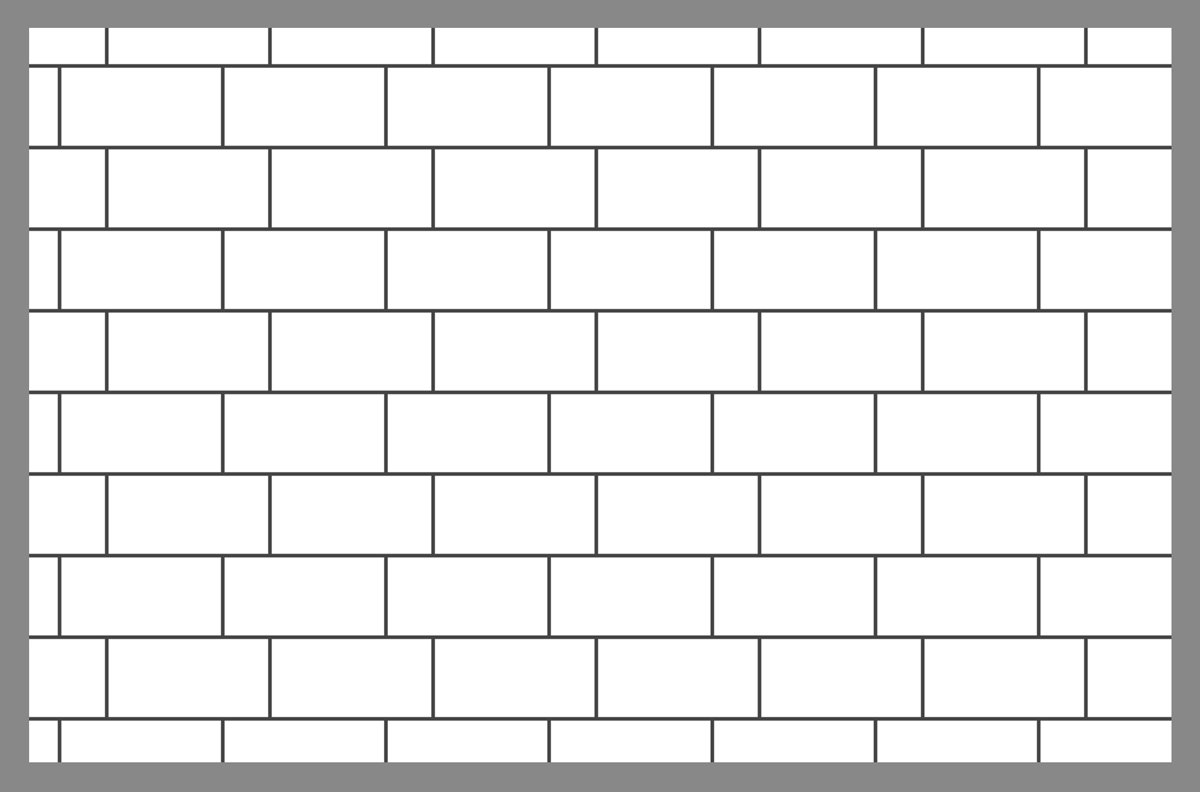
3/4 Running Bond
The 3/4 running bond pattern is very similar to the running bond pattern, but each row is offset by 3/4 the length of a tile instead of 1/2. Plan to order 10% additional material when using this pattern.

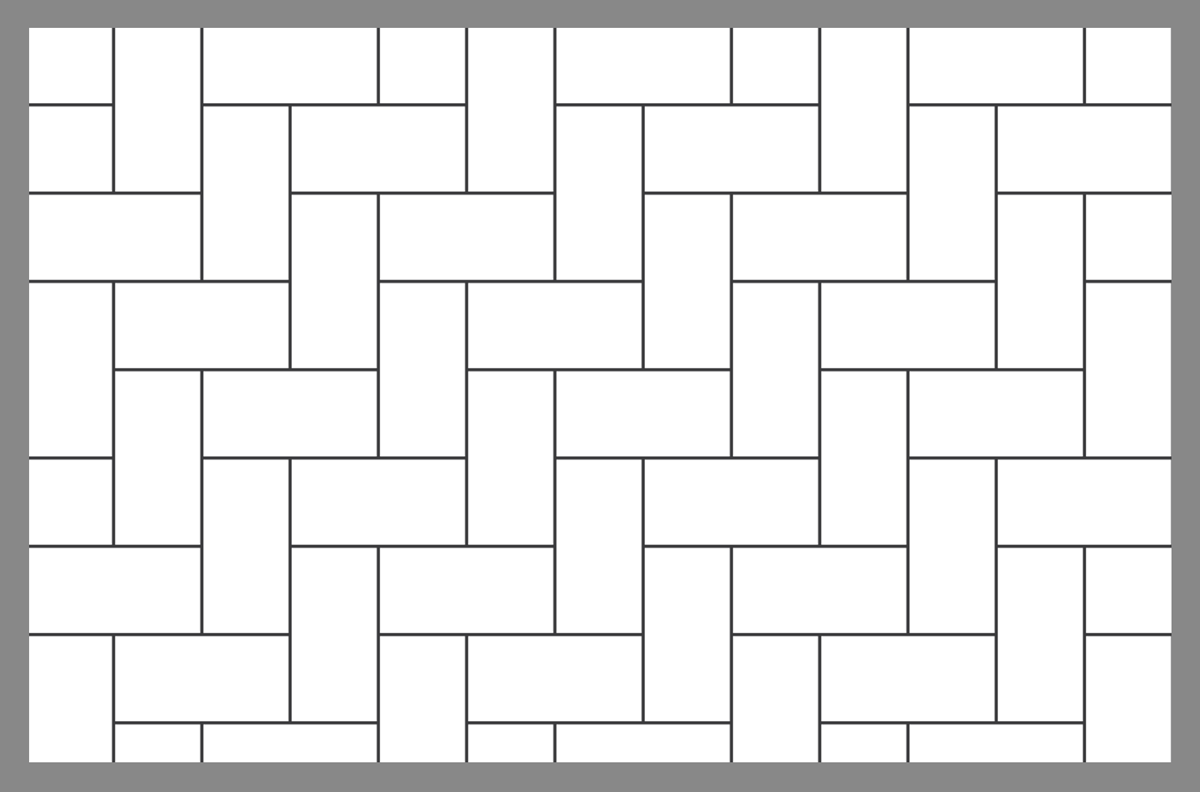
Basket Weave
The basket weave pattern is achieved by using tiles or blocks with a 2:1 end to edge ratio. Two blocks are positioned adjacent to each other to form a square, repeated. The orientation of each adjoining square is angled at 90°. Plan to order 10% additional material when using this pattern.
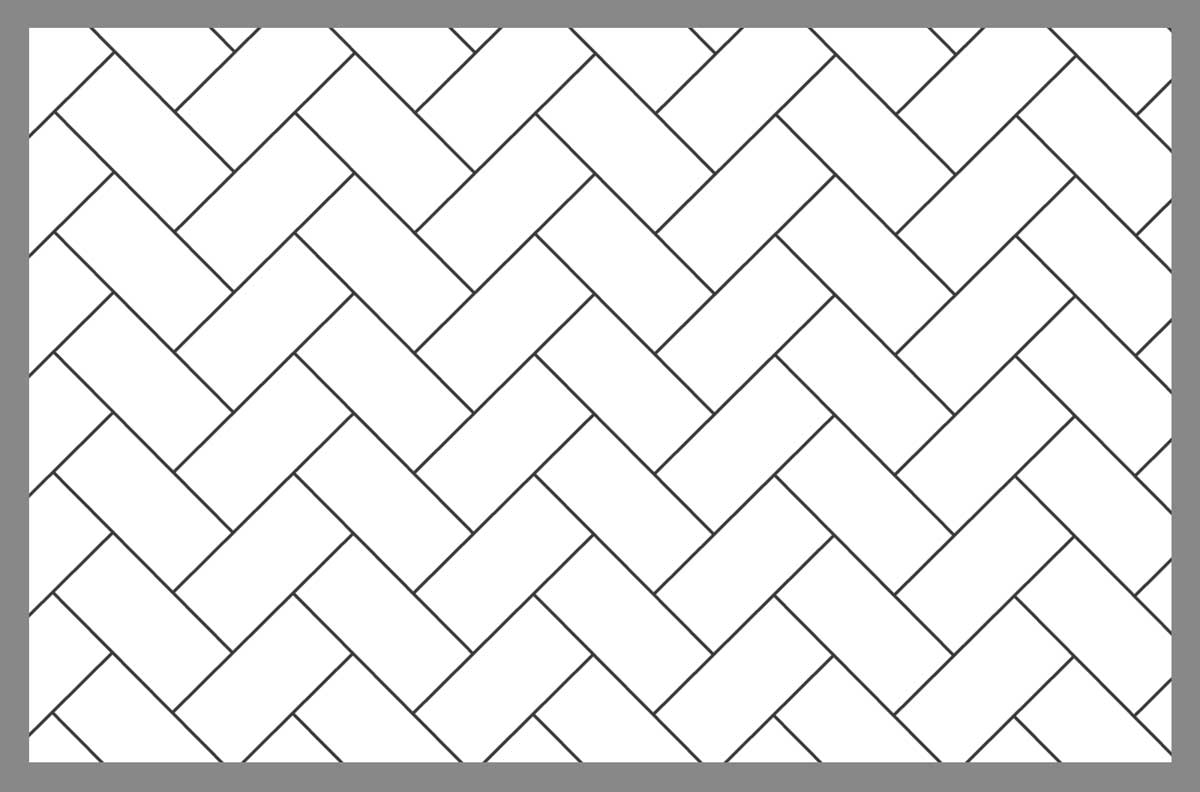
45° Herringbone
The 45° herringbone pattern is achieved by aligning the short edge of a tile or block to the long edge of the next, aligned to the end. All tiles or blocks are angled at 45°. Plan to order 20% additional material when using this pattern.
90° Herringbone
The 90° herringbone pattern is achieved by aligning the short edge of a tile or block to the long edge of the next, aligned to the end. Shown here using a 2:1 end to edge ratio, however a different ratio can be used. Plan to order 10% additional material when using this pattern.
Linear Square Grid
The linear square grid pattern is achieved using square tiles or stones, laid out in an even grid. Plan to order 5-10% additional material when using this pattern.
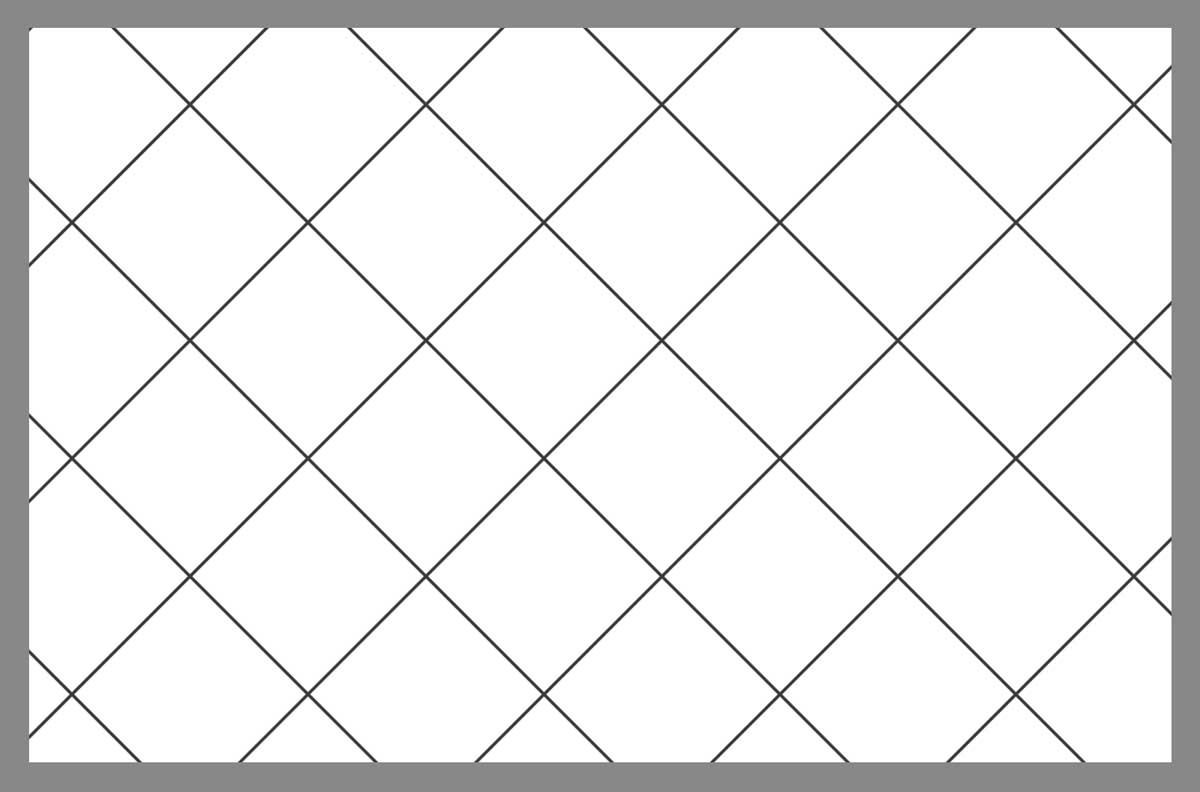
Diamond
The diamond pattern is achieved by laying out tiles in a grid, similar to the linear pattern, then angled at 45°. Plan to order 20% additional material when using this pattern.
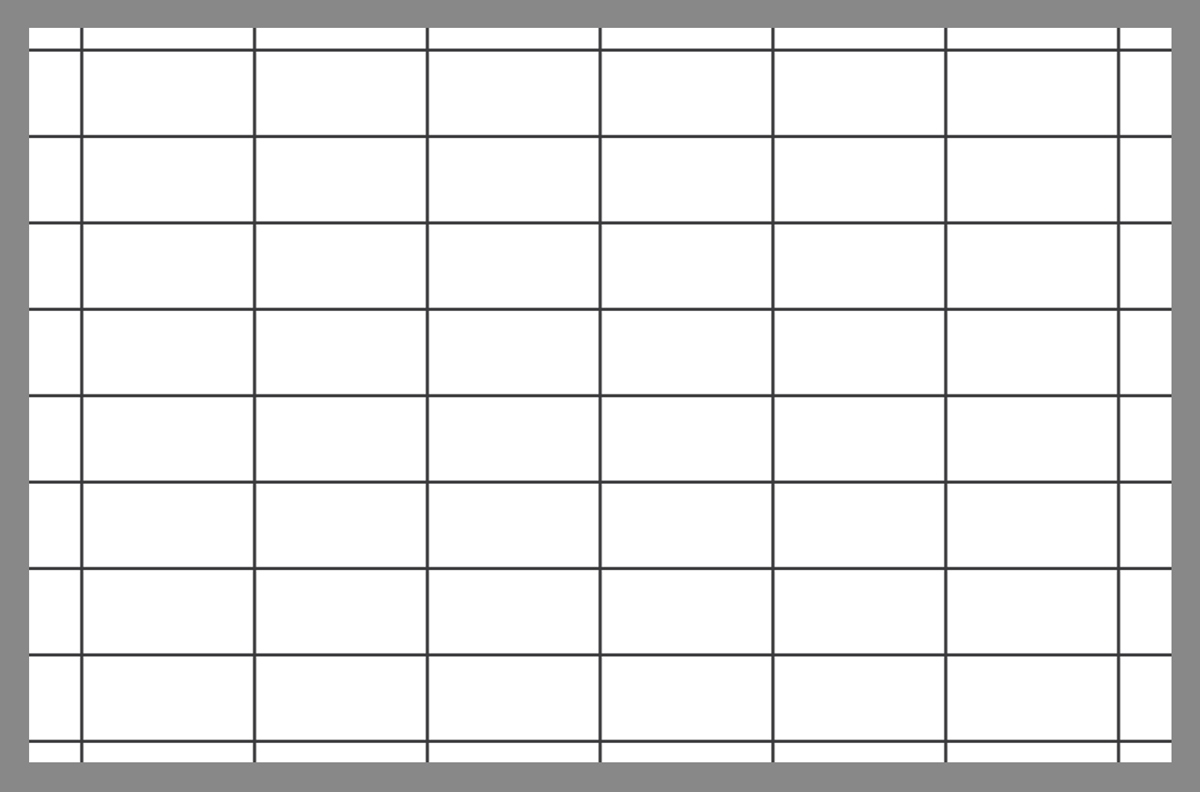
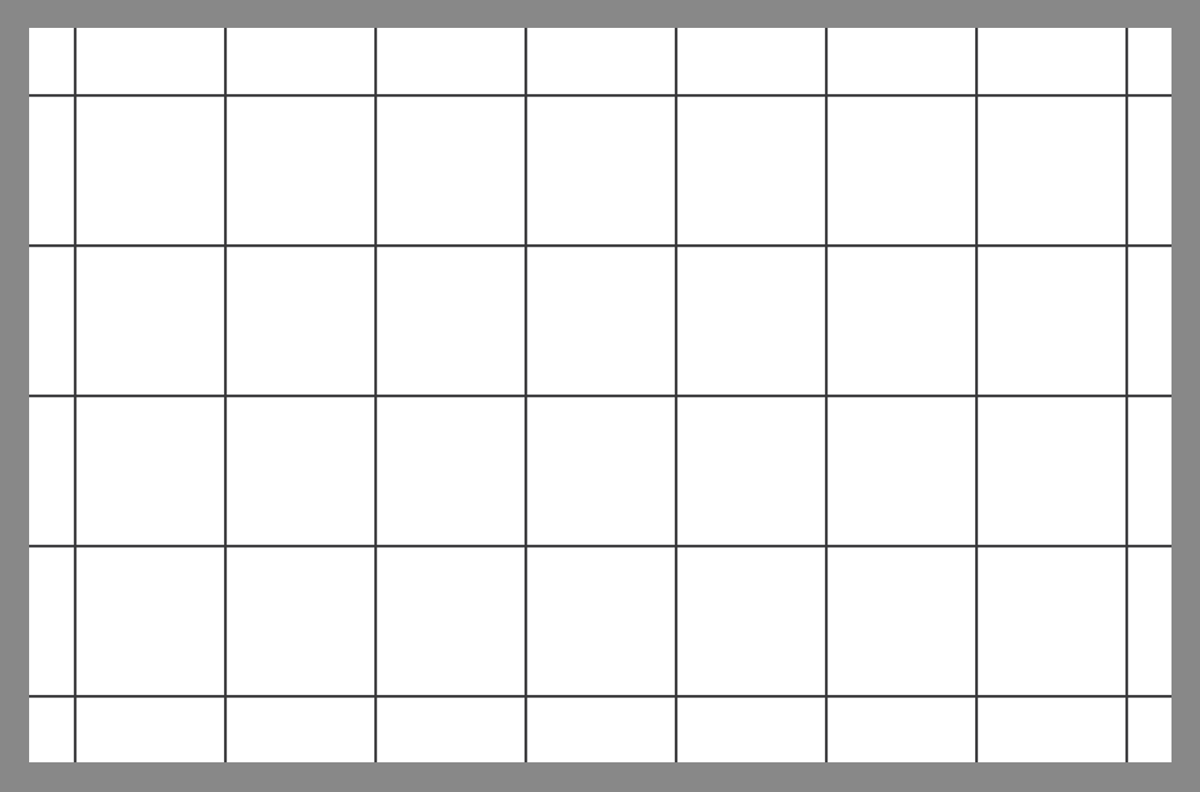
Linear Rectangular Grid
The linear square grid pattern is achieved using rectangular tiles, laid out in an even grid. Plan to order 5-10% additional material when using this pattern.
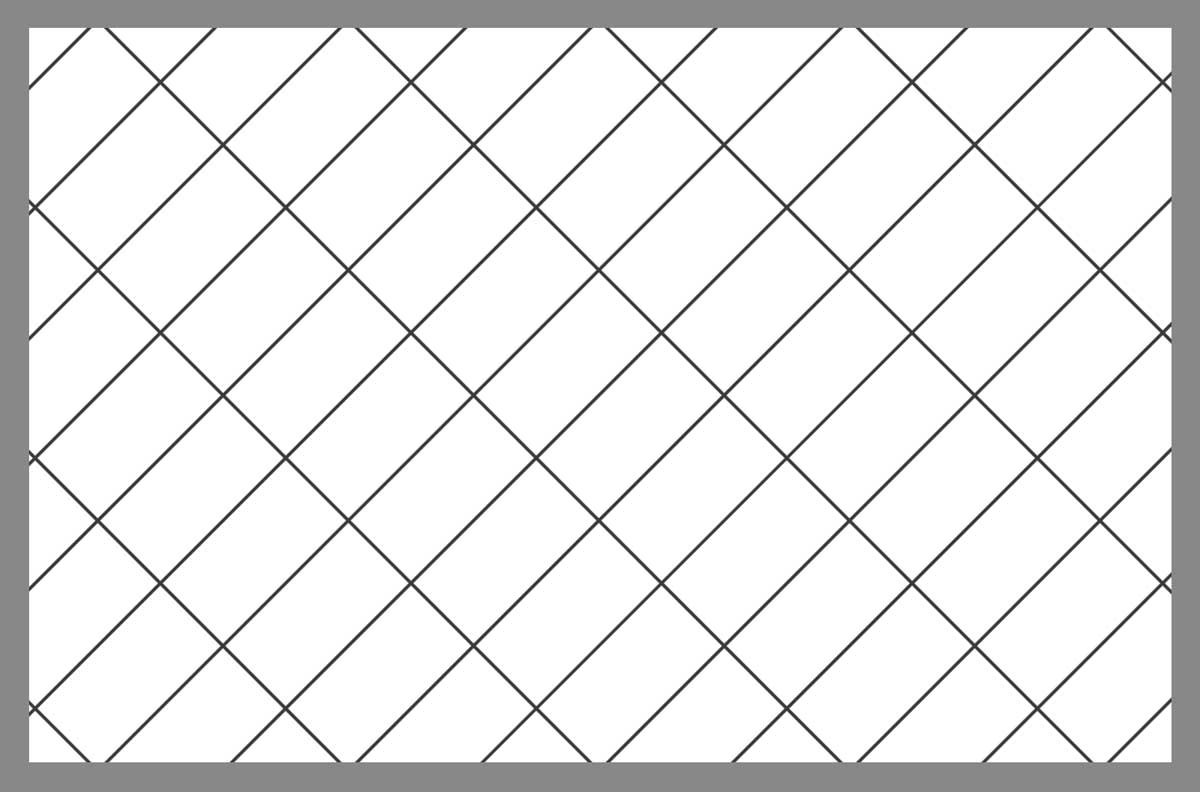
Rectangular Angled Grid
The rectangular angled grid pattern is achieved by laying out rectangular tiles in a grid, similar to the linear square grid pattern, then angled at 45°. Plan to order 20% additional material when using this pattern.